
Kenya Chicken Farming Equipment Installation Video Tutorial: A Comprehensive Guide
Time : 2025-07-02
Chicken farming has become a popular venture in Kenya, with more and more farmers venturing into this profitable business. To ensure the success of your chicken farming operation, investing in the right farming equipment is crucial. In this article, we will provide you with a detailed video tutorial on the installation of chicken farming equipment. Whether you are a beginner or an experienced farmer, this guide will help you understand the process and ensure a smooth installation.
Introduction to Chicken Farming Equipment
Chicken farming equipment is designed to make the process of raising chickens more efficient and profitable. From feeders and waterers to nesting boxes and brooders, each piece of equipment plays a vital role in the overall success of your farm. In this tutorial, we will focus on the installation of some of the most essential equipment, including feeders, waterers, and nesting boxes.
Video Tutorial: Installation of Chicken Farming Equipment
Watch the following video tutorial for a step-by-step guide on installing chicken farming equipment. The video covers the following topics:
- Preparation of the chicken farm area
- Installation of feeders
- Installation of waterers
- Installation of nesting boxes
- Final checks and adjustments
Step-by-Step Installation Guide
For those who prefer a written guide, here is a detailed step-by-step installation process for chicken farming equipment:
Step 1: Preparation of the Chicken Farm Area
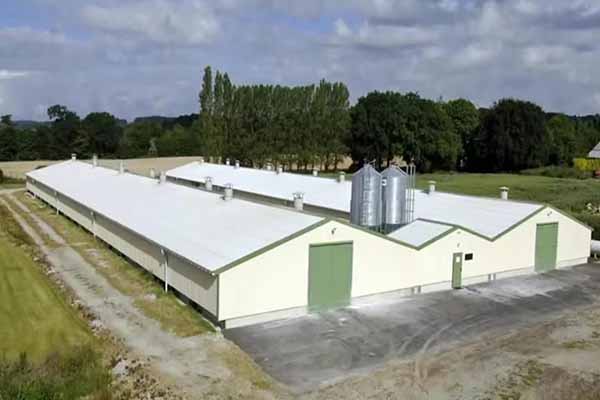
Before installing any equipment, ensure that the chicken farm area is clean, well-ventilated, and free from any hazards. Remove any debris and prepare the floor for the equipment installation.
Step 2: Installation of Feeders
1. Position the feeder in the middle of the chicken coop or pen.
2. Adjust the height of the feeder so that the chickens can easily reach the feed.
3. Secure the feeder using the provided brackets or screws.
4. Fill the feeder with the appropriate feed for your chickens.
Step 3: Installation of Waterers
1. Position the waterer in a location where the chickens can easily access it.
2. Ensure that the waterer is elevated slightly to prevent water spillage.
3. Secure the waterer using the provided brackets or screws.
4. Fill the waterer with clean, fresh water.
Step 4: Installation of Nesting Boxes
1. Position the nesting boxes in a corner of the chicken coop or pen.
2. Ensure that there is enough space between the boxes for the chickens to enter and exit comfortably.
3. Secure the nesting boxes using the provided brackets or screws.
4. Line the boxes with nesting material, such as straw or wood shavings.
Step 5: Final Checks and Adjustments
After installing all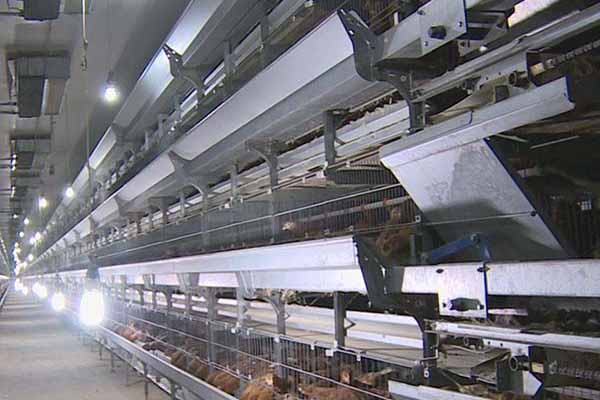 the equipment, perform a final check to ensure that everything is functioning correctly. Check for any loose parts, adjust the heights of the feeders and waterers if necessary, and ensure that the nesting boxes are in the right position.
Key Points to Remember
- Always use high-quality chicken farming equipment to ensure the health and well-being of your chickens.
- Regularly clean and maintain the equipment to prevent the spread of diseases.
- Provide enough space for your chickens to move around comfortably.
- Choose the right type of equipment based on your specific farming needs.
Conclusion
Installing chicken farming equipment may seem daunting at first, but with the right guidance, it can be a straightforward process. By following this video tutorial and the step-by-step guide provided in this article, you can ensure a successful installation and create an optimal environment for your chickens. Remember to prioritize the health and comfort of your chickens, and you will be well on your way to a successful chicken farming operation.