
Poultry Farm Equipment Installation Guide
Time : 2025-06-24
Installing poultry farm equipment is a critical step in creating an efficient and profitable operation. Proper installation ensures the longevity of the equipment, maximizes output, and reduces maintenance costs. This comprehensive guide will walk you through the essential steps and considerations for installing poultry farm equipment.
Planning the Installation
1. Assess Your Farm’s Needs
Before purchasing and installing any poultry farm equipment, it’s crucial to assess your farm’s specific needs. Consider the size of your flock, the type of birds you are raising (chickens, ducks, etc.), and your ultimate goals for the operation.
2. Select the Right Equipment
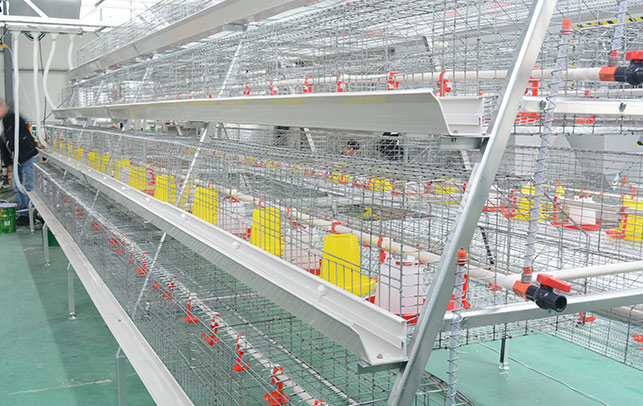
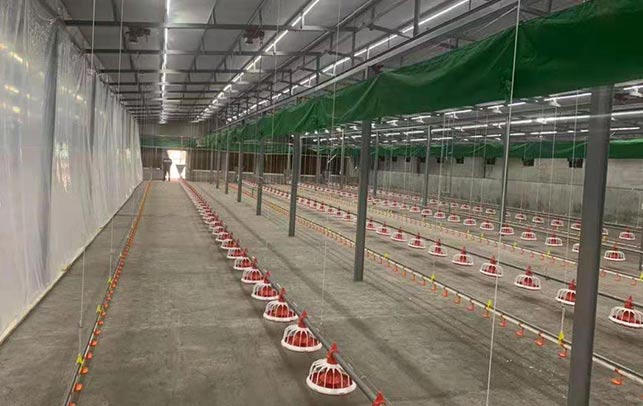
Based on your farm’s needs, choose the appropriate equipment. Common poultry farm equipment includes:
– Feeding systems
– Watering systems
– Bedding systems
– Waste management systems
– Environmental control systems (ventilation, heating, cooling)
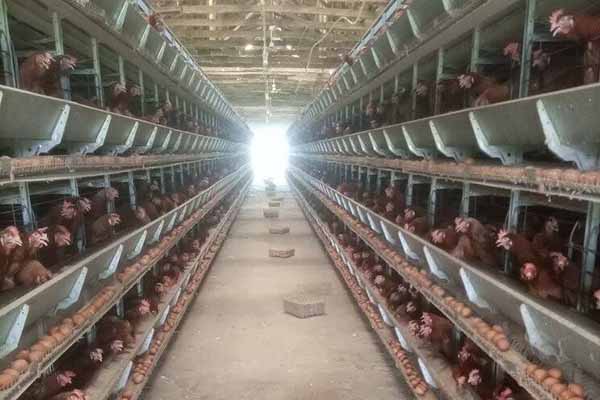
– Egg collection systems
Ensure that the equipment is of high quality and has been designed specifically for poultry farming to ensure efficiency and effectiveness.
Site Preparation
1. Clear the Area
Before installing any equipment, clear the area of any debris or obstacles. Ensure the installation site is level and free of uneven surfaces, as this will affect the functionality of certain equipment, such as feeding systems and environmental control units.
2. Electrical and Plumbing Connections
Ensure all necessary electrical and plumbing connections are in place. Consult with an electrician or plumber to ensure the proper installation and safety of these systems.
3. Accessible and Secure
The installation site should be easily accessible for maintenance and repair. Additionally, secure the equipment to the floor or walls to prevent any movement during use.
Feeding Systems Installation
1. Determine Feeding Requirements
Assess the number of birds and their feeding habits to determine the appropriate size and type of feeding system. Automatic feeders are highly recommended for efficiency.
2. Assemble and Position the Feeder
Follow the manufacturer’s instructions to assemble the feeder. Position the feeder in a central location within the poultry house, ensuring easy access for the birds.
3. Connect to the Power Supply
Ensure the feeder is connected to a reliable power source. If using an automatic feeder, program the feeding schedule to match the birds’ dietary requirements.
Watering Systems Installation
1. Choose the Right Type of Waterer
Select the appropriate waterer based on the type of birds, the size of your flock, and the layout of your poultry house. Nipple waterers and cup waterers are common choices.
2. Position the Waterers
Position the waterers throughout the poultry house, ensuring an even distribution. Birds should have access to water at all times.
3. Connect to the Water Supply
Ensure the waterers are connected to a reliable water supply, and install an overflow mechanism to prevent water spillage.
Bedding Systems Installation
1. Select the Right Bedding Material
Choose a bedding material that is appropriate for your birds and easy to clean. Wood shavings, pine shavings, and recycled paper are popular options.
2. Lay the Bedding Material
Place the bedding material in the appropriate area within the poultry house. Ensure the depth is sufficient to provide insulation and absorb waste.
3. Maintain Bedding Levels
Regularly check and maintain bedding levels to ensure your birds are comfortable and the house remains clean.
Waste Management Systems Installation
1. Select a Waste Management System
Choose a waste management system that is suitable for your farm’s size and type of birds. options include composting systems, anaerobic digestion systems, and waste lagoons.
2. Install the System
Follow the manufacturer’s instructions to install the waste management system. Ensure it is placed in a convenient location within the poultry house.
3. Maintain the System
Regularly maintain the waste management system to ensure proper function and reduce odors.
Environmental Control Systems Installation
1. Determine Your Birds’ Temperature Requirements
Understand your birds’ temperature requirements at various stages of growth. Environmental control systems are crucial in maintaining the right temperature and humidity levels within the poultry house.
2. Install Ventilation and Heating/Cooling Units
Position ventilation and heating/cooling units strategically throughout the poultry house. Ensure these units are properly installed and connected to the power supply.
3. Monitor and Adjust
Regularly monitor the temperature and humidity levels within the poultry house. Adjust the environmental control systems as needed to ensure optimal conditions for your birds.
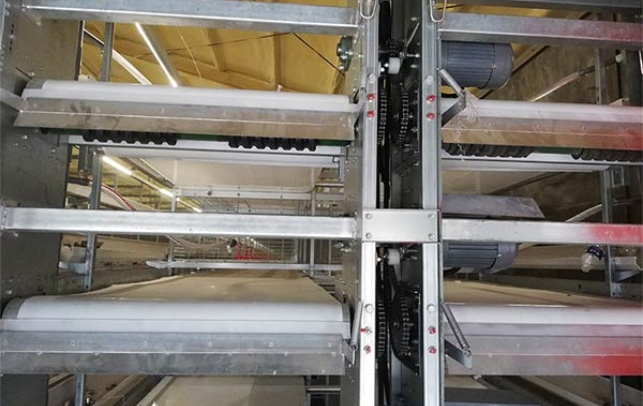
Egg Collection Systems Installation
1. Choose the Right Egg Collection System
Select an egg collection system that fits your farm’s needs, such as a belt conveyor, roller conveyor, or manual collection.
2. Position the System
Install the egg collection system in a central location within the poultry house, ensuring easy access for workers.
3. Connect to the Power Supply
Ensure the egg collection system is connected to a reliable power source and that all components are working correctly.
Conclusion
Proper installation of poultry farm equipment is vital for the success of your operation. By following this comprehensive guide, you can ensure that your equipment is installed correctly and that your poultry farm is running efficiently. For any specific installation requirements or technical questions, consult with a professional or the equipment manufacturer.